For fun: testing out the lights for pumpkins on the porch. Photos: (c) C. Verstraete (Click photos for full size.) * Added stained glass info and photos in middle.
Yes! There is real progress on the half-scale Fairfield dollhouse! I still remember taking this out of the box - twice - and putting it back. Never really thought I'd get to this point. I did almost give up on this house a few times but I liked the style and wanted to do it. I'm mostly glad now that I didn't quit!
I've been steadily working on finishing walls and trim, though I did put it aside sometimes when I get aggravated with the endless (it seems) trimming, but there is progress now. Yay!
One of those I'm-gonna-quit-moments - the light trauma: I originally had a light on that left wall next to the door below. Then I shorted it out (along with my oldest big transformer). Luckily the other light still worked so I put it on the right wall. Then I realized the floor light was too close to the edge as I forgot I needed to fit the porch post in so I had to move that over... Sigh.

(Another view. I still have to finish the corner trimming and add the window alcove on the left for the kitchen, which is all done. Just wanted to make sure everything was finished in the kitchen first as it won't be as easy to reach in then.)
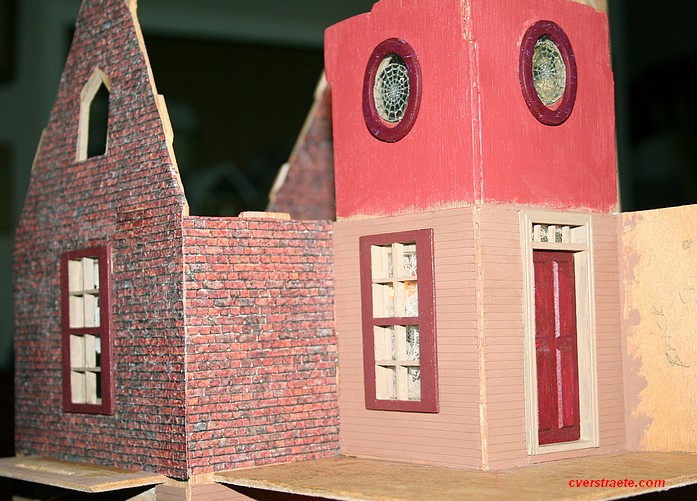
Exterior: To start - the front porch above. I decided to do a contrasting color that I also used on the top of the tower below to add in another tone. I do like it! Besides this being a paint sample from Target that I came across; real house paint with a nice, smooth texture. The other colors are regular acrylic paint - the siding is Cocoa Bean; the side of the door and all inner windows is Country Tan. The darker doors are Black Cherry while the front door and the other trim (round windows and all window exterior frames) are Rookwood Red. Still deciding on the rails though it'll likely be two-toned with accent colors though I keep leaning toward a wrought-iron style fencing if I can find some cheap enough. Or I might use the railing I had from the Van Buren house that I didn't use and fancy it up. We'll see.
Also finished adding the brick paper to this side of the exterior walls next to the tower. The lower level exterior is sided. I'm thinking of doing a reddish-pebbled tile paper for the top porch floor here. We'll see. Yes, I put plastic clear spider web stickers in the round windows for something different. The tower will also have black accent trim.
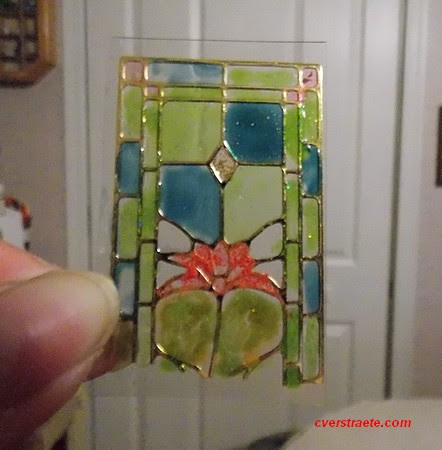
For fun, I decided to make stained glass for the three top attic windows. While the bottom round part on the stained glass won't show once it's in, the funny thing is I'd originally used a pretty peach color. Yikes! When I looked at it again, I had to change the color as it looked like a big butt! haaa! The gold outlines are a sticker.
At first, I wasn't sure which side to put to the inside, but solved that problem as I found I had enough pieces to add the gold outline to the other side as well.