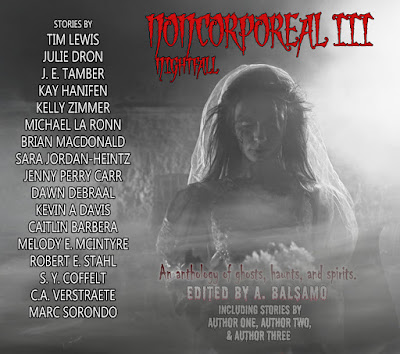
What? Halloween already???
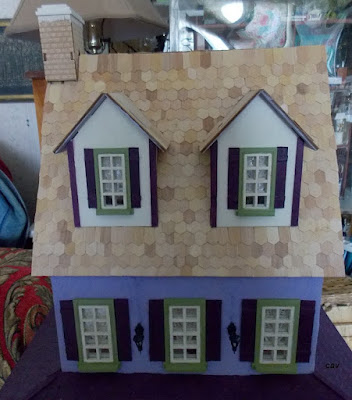
I am painting the Lavender Cottage roof now, in spurts --- *** AND the first coat is DONE! Yay. But have to paint, cut, and put on side trim yet. Then planning some side gardens and a patio. The work is never done! haa!
In the meantime, some cool and different things I've come across:
Believe it or not, Halloween stuff is coming out already! They call it "Summerween." So, Michaels already has the Lemax Spookytown Halloween stuff! There's a cute mailbox with octopus arms and these cute Halloween dogs will have to come home with me (above). I always like to get new Halloween dogs and the tombstones. There's also an IT figure too (but $$$).
* Here's a fun-looking Halloween project: Kiki's Magic Shop: Rolife/Amazon (* Don't forget to check out my list of Craft books & book-related Book Nooks on the top tab or here.)
* How about a Halloween Haunted House book nook? (Boy these are getting pricey though!) Fifijoy/Amazon
* Classic 3D Printed Monster Figures (about 1.25 inches high/32 mm; available to Nov. 30) I want the Creature from the Black Lagoon!
* I recently lost my German Shepherd, Gracie, 14.5 years old. (Her puppy photo is in the top banner.) Was looking at a couple dollhouse-sized dog models on Etsy: Funny that I bought that dog at the show last time. But I do have a half-scale dog that I might paint white for the dollhouse. But not ready to do that yet.
* Some cute dog figures - 20 pcs/Amazon
* Awww! A sleeping Lab, 1/12th scale: Dog/Amazon
* For fun, another cute kit. Alice in Wonderland - Rolife/Amazon
* So, the recent "big" little things are the MiniBrands Fill the Fridge and Mini-Minis Foods. (Fridge not coming up on Amazon yet.) While the fridge is bigger, more Barbie size, really wondering if some of the foods aren't close to 1/12th scale. Anyone know?
* If you like to make your own polymer clay foods, or want to try your hand at it, the classic book, Making Miniature Foods & Market Stalls by Angie Scarr is a miniaturist's must! I've used this book and it really is easy to follow, with good results!* Angie Scarr also has some neat new 3D printed planters, 1/2" , 1" 1.5". (I can't find them on the website yet but she also has some nice kits besides her books.) She also has some great clay food canes.
* This is cool! An Old West Old Town Saloon Book Nook - Wonderland/Amazon
* That's it for the moment! Will post more soon. Thanks again for visiting! *
(Note: Amazon links are affiliate links; may offer some compensation to blog poster.)


.JPG)


