
Whew! My feet are aching after standing for several hours working on miniature electric. It took a bit to glue and solder seven lights in but --- done!
I added the outside lights and shutters on the second floor (above) and it really improves it, doesn't it? It just looked too bare before. Seeing the colors together like this, it shows how what may seem at first like a non-complimentary set of colors can work. (*Click photos for full size; see other links in left column archives list.)
What's the big deal, you ask? Well, to explain, electric tape was run in the Lavender Cottage as usual, but this time I decided to use 3 volt LED lights instead of 12 volt regular lights but with an adjustable transformer (switches from 3v to 12 v, cheap on ebay.) That way I don't have to worry about battery life and all that. We cut off the socket end and wire on a plug.
Boring explanation: (if you know, you know...ha!) The process includes drilling the holes, testing lights, running the wires, then soldering them in to the electric tape. In years of building dollhouses, I've never had a problem with loose connections this way. As usual, I admit not planning enough beforehand so some of this might've been easier - like adding a light and globe on each side of the porch ceiling before the railings/posts were installed, but it worked out. Now I just have to repaint under the porch roof since I have electric tape running there. Maybe sand paint or light stucco or glue card on.

Second floor: I glued on the purple (it's more a rose and purple mix) scrapbook paper ceiling, soldered the lights with the purple mesh bead covers, and then at the last minute decided to put a wall light in, too, since it needed more light. I should've done it before I papered (and thought of it), so I had to paint the wires and run it down the wall. But that's acceptable as it's a cottage and lights are like that sometimes. Once everything is in and the table is there, it won't be that noticeable. I'll have to add moldings around the ceiling as well like I did on the first floor. Will probably put some wood for baseboards, too; the first floor didn't need it but it'll look better on this floor.
Then, the main electrician (hubby) thought there should be two lights in the front of the second floor. (top photo). After thinking about it, yeah, good idea. I added shutters, which did fill in the empty space and added more color, so the lights are another good touch. I'll touch up the paint on the wires and then add more tinted Spackle (lightweight hole filling compound colored with acrylic paint) over them so they won't show.


(Smaller window for top roof dormers.)
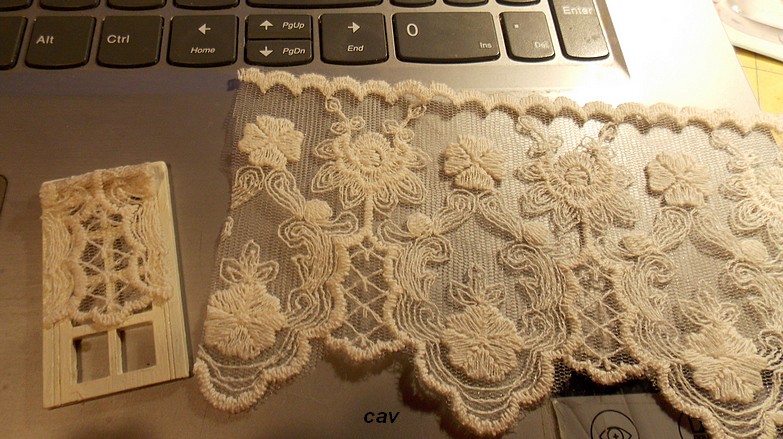
Finishing up curtains. I found some really pretty lace at Walmart that has some nice designs to cut out, so I can put the windows in before I glue the third floor walls in. I'm using the same white textured brick paper (Starboc 2/Etsy) that I used in the first floor wall. Will also use that on the foundation. (See photo above.)
And you thought building dollhouses was easy. ha! This is a lot different, yes, more labor intensive then just putting together those pre-made book nooks or kits with all the pieces. Either way is fun, though regular dollhouses require more planning, building, and designing if you are doing any modifications. Good learning process if you've never done it and the results are worth it once you get to the kit building, modifying, and bashing stage of miniatures.
So onward! I'll share more progress soon. Getting there!
PS - In the meantime, that little house kit (below) is about done, with construction help from friend Gigi and her hubby's help fixing a weird window design. (That left black window frame had round dowel rods for cross beams, which was kind of stupid. It looks and fits better using the same square wood strips as the sides.) These kits often have confusing directions and this was the first time I did a full one like this. Now I know.

Here are a few tables from that kit. The square one will have marble paper on it.

Electric will be next on that one. I changed the papers and colors, an improvement. I never like the terrible paper designs/colors they use. My color theme is ending up with red and green in the living room because of the paper's print, and maybe red in the bedroom. Guess it will be a kind-of Christmasy house. ha! Didn't intend that color scheme but I liked the paper design I picked. Have to make a new bed frame and then choose fabric colors. I'm on a bed kick. I'll have four beds to make then. ha! Hopefully will share that soon too!
* Thanks again for visiting and letting me ramble about my projects. Come back soon to see what else got done!*